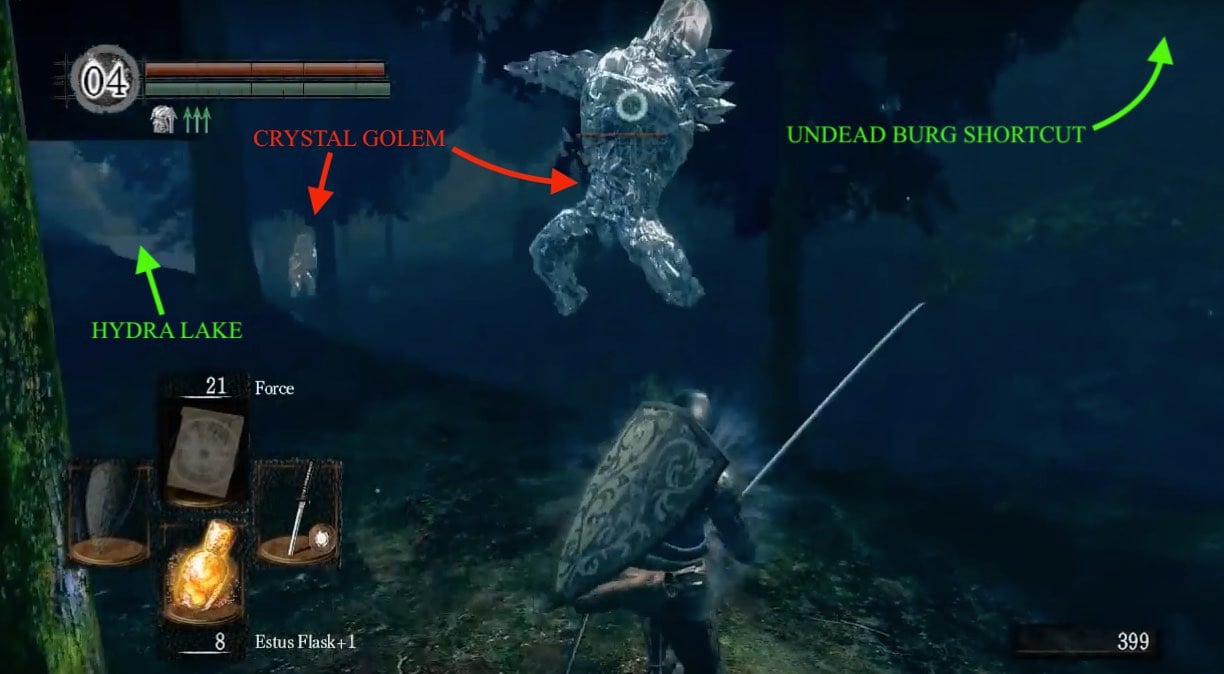
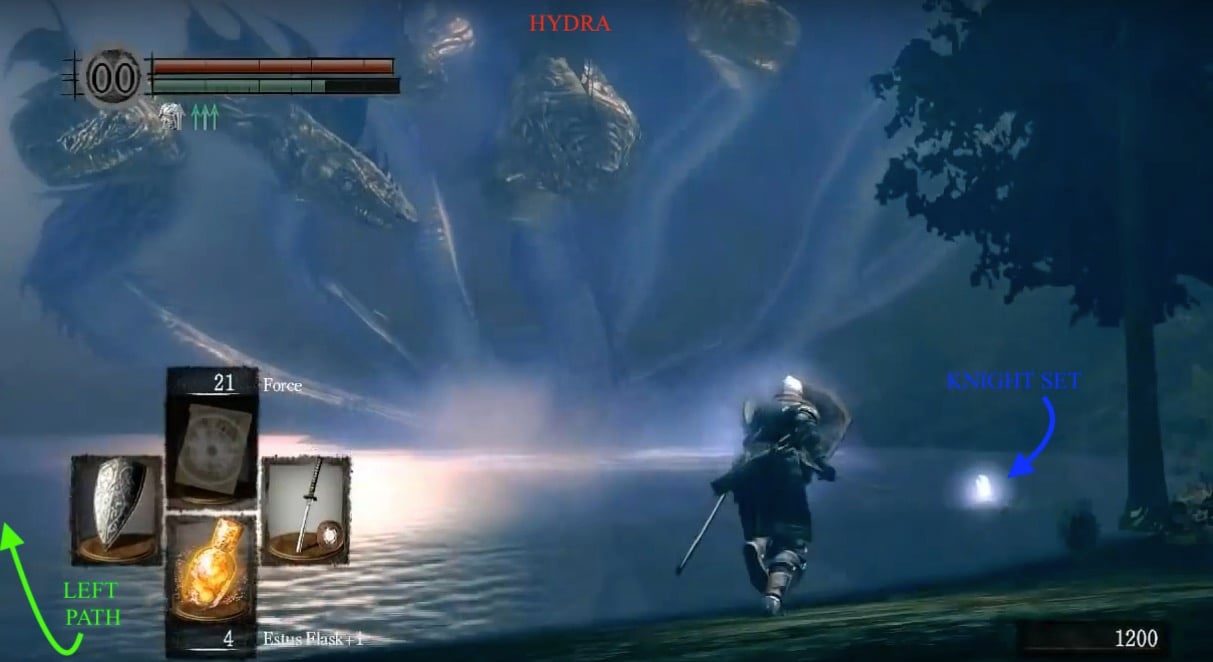
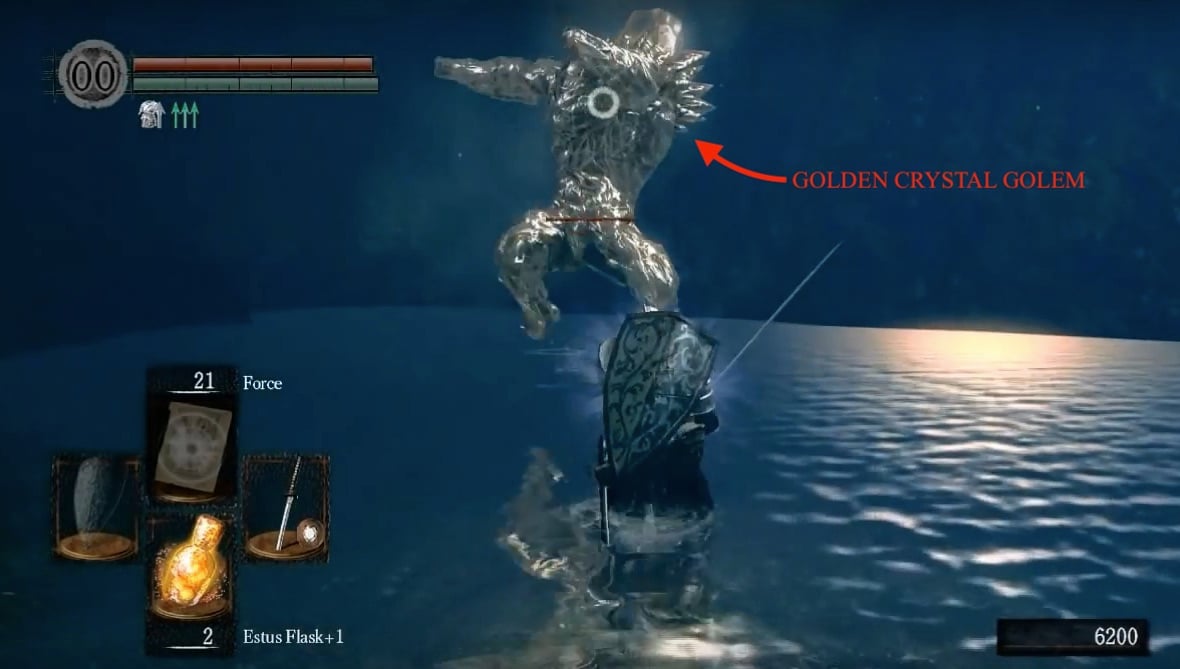
Darkroot Basin is a Location in Dark Souls and Dark Souls Remastered. A sub-level of Darkroot Garden, it is not essential to explore it for the main quest. It's accessed by going down a steep path near the entrance of the Garden, just past the first Ent. There is no official boss in the area, but there are still a couple of tough enemies to defeat in the Hydra and Golden Crystal Golem.

General Information
- Previous: Darkroot Garden
- Next: New Londo Ruins
- Recommended Levels: Any
- Unique enemies: Hydra, Golden Crystal Golem, Black Knight
Video Walkthrough
Darkroot Basin Map
(Work in progress)
NPCs in the area
Bosses
- Hydra
- Golden Crystal Golem
- Black Knight (halberd) (drops a chunk of Blue Titanite and chance to drop Black Knight Halberd/Black Knight Shield)
Items
Consumables
- Humanity
- Twin Humanities
- Large Soul of a Lost Undead
- Large Soul of a Nameless Soldier
- Large Soul of a Proud Knight
- Large Soul of a Lost Undead
- Purple Moss Clump
- Blooming Purple Moss Clump
- Soul of a Nameless Soldier
- Egg Vermifuge
- Divine Blessing
- Repair Powder
- Transient Curse
Weapons, Spells & Armor
- Hunter Set
- Grass Crest Shield
- Dusk Crown Ring
- Antiquated Set
- Longbow
- Knight Set
- Pharis's Hat (drop)
- Black Bow of Pharis (drop)
- Broken Pendant
- Black Knight Shield
- Black Knight Greatsword
- Black Knight Halberd
- Black Knight Sword
- Dung Pie
- Prism Stone
- Copper Coin
- Gold Coin
- Silver Coin
Upgrade Materials
- Red Titanite Chunk
- Red Titanite Chunk
- Titanite Chunk
- Twinkling Titanite
- White Titanite Chunk
- Green Titanite Shard
- Large Titanite Shard
- Demon Titanite
- Dragon Scale
- Blue Titanite Chunk
Keys and other
- --
Enemies
Full Darkroot Basin Walkthrough
Down the Garden Path
Darkroot Garden Detour - You can access Darkroot Basin by taking a right turn after defeating the first Ent in Darkroot Garden, once you leave the blacksmith. After you take that right turn, you will be at the top of a cliff and have to steer through a fairly narrow winding switchback. On the way down, you will find a Crystal Lizard; be quick or watch it disappear and miss out on the its valuable drops. On your way down, there is a small platform that you can drop on to get the Hunter Set as well as a Longbow and several Feather Arrows.
In the Basin
Once you make it down further you have two paths:
- Facing outwards, away from the path you just traveled down, you can turn to the right to find a Halberd-wielding Black Knight. Continue down past where the Knight was to find the Grass Crest Shield on a dead body located at the area's lowest point. Right beside where you met the Knight, you can access a small tunnel that leads to a bonfire, and if you continue further down the tunnel it will lead you to an elevator that will take you down to the Valley of Drakes.
- Now head back up and continue on the path on the left towards the wooded area; this area comes with a Lake and its very own Hydra. As you approach you'll see a hill on the right that leads up to tower with a locked door that can only be opened with the Watchtower Basement Key or the master key. If you have not already killed Havel the Rock in Undead Burg be prepared to battle him once you open the door as he will immediately ambush you from your right. Climb to the top of this tower to open up a shortcut between Undead Burg and Darkroot Basin and head back down to the misty woods.
The Misty Woods
A Rock and a Hard Place - There are four Crystal Golems in here which at lower levels will take little damage. Try luring them out one at a time with arrows to avoid going too far into the woods. If you go too far in, the Hydra in the lake at the end will start firing water projectiles that inflict massive physical damage. These projectiles can be blocked but their splash radius may sneak around your shield still hitting you and knocking you down; dodging the projectiles and fighting the Crystal Golems simultaneously is not ideal, so you're better off pulling them away. Another strategy is to, when facing the hydra, run up the slope to your left, then run towards the wall close to the hydra. Here you should find the hydra has extreme difficulty hitting you at all, and the Crystal Golems will not path correctly and run against a steep part of the slope where they become stuck. Be warned that if you go up to engage the Golems in melee they can attack you, the hydra can hit you with its projectiles, and you can slip off the cliff and be quickly killed by the Golems below so it is advisable to use a bow or other ranged weapons.

Friendly Fire - Alternatively, if your weapons are ineffective against the Crystal Golems but you have enough movement speed, you can engage them enough so they chase you then maneuver around, baiting the water projectiles onto the Crystal Golems, making good use of your environment for cover and cheeky escapes; they seem to only be able to take 2-3 hits from the projectiles before they die on New Game. Once you have disposed of them, make your way to the Hydra as quickly as possible. For further strategies on the Crystal Golems, visit their page.
Hydra Lake
A Snake With Many Heads - At the lake, you may be tempted to take the fight to the Hydra, but treading too far into the lake will drop you into the Abyss. Avoid this, and stay close to the shoreline, and wait for the Hydra's heads to attack; when they do this, the heads stay on ground level for a couple seconds before winding back up for another attack - take advantage of this and cut their heads off until there aren't anymore to cut off. If you see the hydra fire projectiles you were to far away for it to slam its heads down.

Golden Hard Man - Once you defeat the Hydra, not only will you be rewarded with a Dragon Scale, a Dusk Crown Ring, and 5000 Souls, but you can also pick up the item on the shoreline of the lake. This is the Knight Set. There is a path through the left side of the lake you can walk through which starts at the waterfall and crosses over to a small piece of dry land with a long ladder going up the cliff face on the left - we'll come back to this ladder in a moment. Keep following the wall on the left through the water and towards the end you should be able to see the Golden Crystal Golem. Equipping the Rusted Iron Ring is very helpful in the incurring fight to improve mobility in the water. This golden variety of the Crystal Golem is essentially a larger, more power version of than the ones you faced earlier - if you thought the four earlier were hard, you're in for a rough ride. (If the Golem does not appear after you kill the Hydra quit & reload the game & then try again)

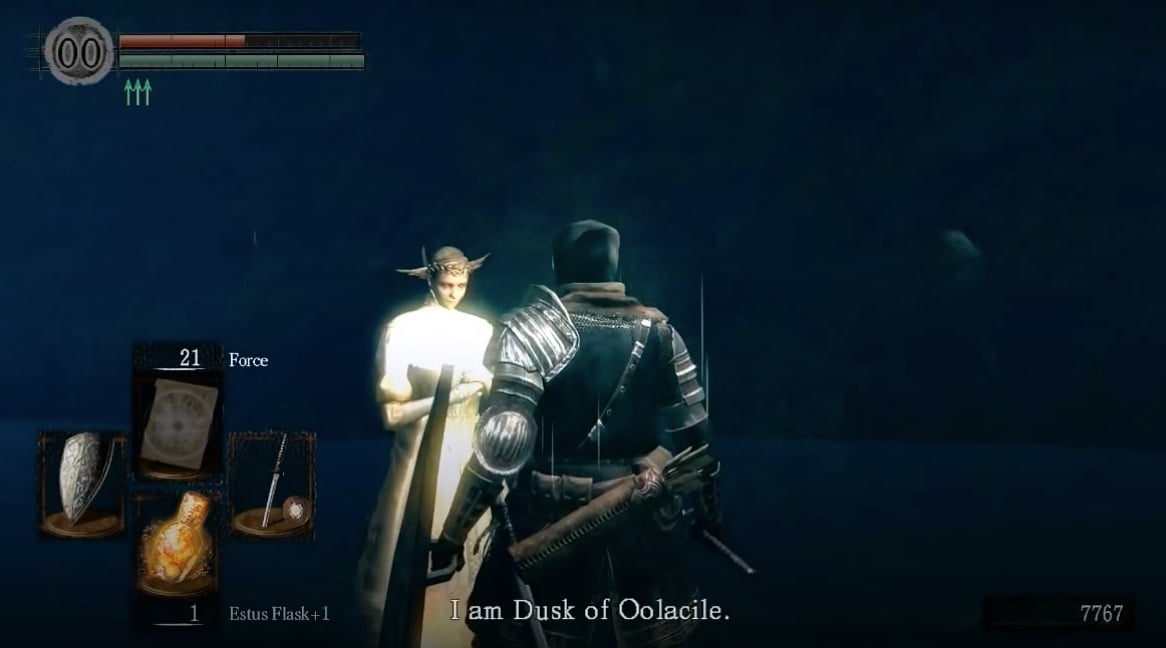
From Dusk Till DLC - Once you defeat it, Dusk of Oolacile will appear in it's place (DO NOT KEEP SWINGING YOUR WEAPON AFTER YOU DEFEAT THE GOLEM AS YOU CAN KILL HER). She will thank you for saving her, give you some backstory and offer her assistance - say 'Yes' to whatever questions she asks. Once done, her summoning sign should now appear next to a rock in front of the lake where you fought the Hydra. Using it you will be able to summon Dusk here where she'll serve as a sorcery trainer, but be sure to only do so without other enemies in the vicinity as she can become collateral damage. If you return to the spot where you fought the Golden Crystal Golem now you will find the Antiquated Set - if not, a quit-and-reload is in order. (You need to summon Dusk first for the set to appear.) Saving her is also the initial trigger event for accessing the Prepare to Die/DLC Oolacile content.

Remember the long ladder beside the waterfall on the left side of the lake? Well a climb up this ladder will bring you to the stone bridge leading to an encounter with the Giant Cats in Darkroot Garden.
Once all the above is complete and if you have no further business in Darkroot Garden, the next stop is New Londo Ruins via Firelink Shrine.
Speed Run Walkthrough
The only essential item in Darkroot Garden and Basin is the Covenant of Artorias and it is faster to gather the 20,000 souls and buy the Crest of Artorias so it is best to skip this area entirely.Notes & Trivia:
- ??
 Anonymous
Well aparently lightning spells if thrown into water do an aoe, which makes sence but that means that Dusk is dead :). Well bether luck next character.

 Anonymous
if you miss the crystal lizard, exit the game asap and reload, it will reappear right at you feet

 Anonymous
I thought the ring i got from Sif would let me ¨traverse the abyss¨ as described but nope fell to my death with 60k souls and 10 humanity nice

 Anonymous
theres a shortcut from darkroot garden that allows you to snipe out most of the hydra heads (done with +9 bow of pharis, 30 dex, 36 str . about 10 std arrows per head) coming from the garden bonfire behind the illusionary wall, hug the right side of the map, past the ledge with the 3 or 4 ents (you should be able to see the hydra at this point) keep following the ledge and keeping an eye out for ents, youll come to a canyon with a river bellow waterfalling into the lake with the hydra. there's a wooden bridge you can drop onto (heal before hand, its a little drop) but you can sipe out all but one head of the hydra, you just need patience and timing. after climbing down on the ladders to darkroot basin i was able to snipe out the last remaining head (furthest right) by hugging the boulder by the shore, no damage from water attacks. you can hug the waterfall and collect the loot on the shore afterwards, and youre right by the tower shortcut for undead parish with havel npc

 Anonymous
 Anonymous
is it all the same in the prepare to die edition? i didnt get to fight the golden goldem after the hydra fight.

 Anonymous
It is extremely easy to trap the golems here on the left side (the hydra's right) near the tree and indentation between two ramps up. The wall blocks the hydras blasts, and the golems will continually try and fail to climb up the cliff to you. All 4 can be led here for easy dispatching.

 Anonymous
Can you coop here, and what is the boss of the area if so, the moonlight butterfly?


What a thrill
5
+10
-1